
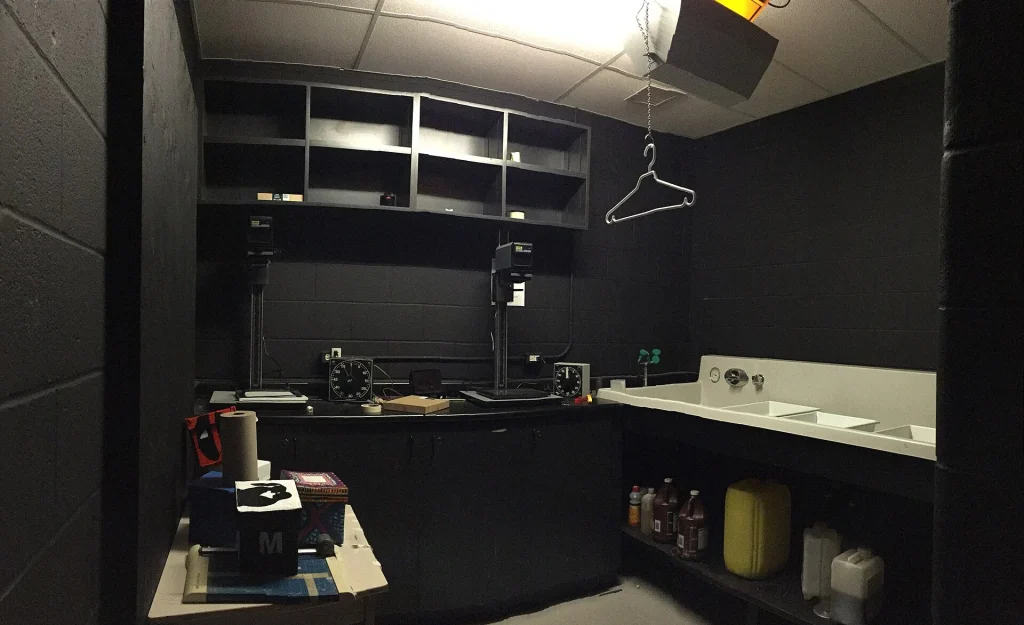
Making a print in a darkroom is the part of film photography that scanning cannot replace. The good news is that enlargers are cheap, because schools and newspapers gave theirs up years ago. The catch is that an enlarger is a kit of parts, and a missing negative carrier or lens board can cost more to replace than the whole machine.
What to Look For
- Negative carrier is included and matches your film format
- An enlarging lens and lens board come with it: 50mm for 35mm film, 80mm for medium format
- Column is straight, and the head moves up and down smoothly and locks firmly
- Bellows are free of pinholes and tears, and focusing is smooth
- Lamp works, wiring is sound, and the condensers or diffusion box are present and clean
Popular Models Worth Seeking Out
These makers sold enormous numbers, so carriers, bulbs and spare parts still turn up regularly.
- Beseler 23C series — the classic American workhorse, handling 35mm up to 6x9cm. Sturdy, with parts that are easy to find.
- Durst M601, M605 and M670 — compact, precise enlargers well suited to small spaces.
- Omega B-22 and B-66 — simple, solid machines that cover 35mm and medium format.
- LPL 670 and 7700 series — later designs, also sold under the Saunders name, with very smooth movements.
Our Pick: A Complete 35mm and Medium Format Enlarger Outfit
Buy a complete outfit, not a bare enlarger. A mid-size machine that handles both 35mm and medium format, sold with its carriers and a decent lens, will cover everything most home printers ever need.
THE VERDICT
- Carrier: Included
- Lens: 50mm enlarging lens fitted
- Column: Straight, locks firmly
- Lamp: Working
Best for: film photographers ready to make their own black-and-white prints at home without spending much.
Pros & Cons
Pros
- Very low prices for professional-grade equipment
- Simple mechanical design with little to go wrong
- Black-and-white printing needs only a few extra items
Cons
- Bulky and awkward to ship, so local pickup is often the best route
- Missing small parts can be hard and costly to track down
Common Problems to Watch For
- Missing negative carrier — the most common gap in a listing, and often the hardest part to replace.
- Hazy or fungus-affected lens — lowers print contrast. Check it against a light as you would a camera lens.
- Bellows pinholes — leak light and fog the paper. Check in a dark room with the lamp on.
- Head out of alignment — prints are sharp on one side only. Most enlargers can be adjusted.
- Old wiring and cracked plugs — have these replaced before use.
How Much Should You Expect to Pay
- $30–$80: Bare enlargers or incomplete outfits
- $80–$200: Complete 35mm or medium format enlargers with lens and carrier
- $200–$400: Clean outfits with a quality lens, easel, timer and trays
- $400+: 4×5 enlargers and color-head models in top condition
Quick Questions, Answered
What else do I need to start printing?
A safelight, three trays, tongs, a timer, an easel, paper and chemistry. A grain focuser is a worthwhile extra.
Do I need a dedicated room?
No. Many people print in a bathroom or closet that can be made fully dark for an evening.
Condenser or diffusion head?
Condenser heads give slightly crisper, more contrasty prints. Diffusion and color heads are kinder to dust and scratches. Both make fine prints.
Look for sellers offering an entire darkroom in one lot. Trays, easels, timers and safelights add up quickly when bought one at a time, and a complete lot is usually the cheapest way in.