
Developing your own film is easier than most people expect, and the central piece of equipment is a light-tight tank that costs less than two rolls of lab processing. Once the film is loaded, everything else happens in normal room light. Used tanks are everywhere, but they are often missing the one part that makes them work.
What to Look For
- Tank is complete: body, center column, funnel lid, cap and at least one reel
- Reels ratchet freely, and the small ball bearings move when you shake them
- Plastic is free of cracks and chips, especially around the lid threads
- Reels adjust to the film sizes you shoot, usually 35mm and 120
- Stainless steel reels are straight and not bent out of shape
Popular Models Worth Seeking Out
Three families of tank cover almost everything sold, and all are still supported.
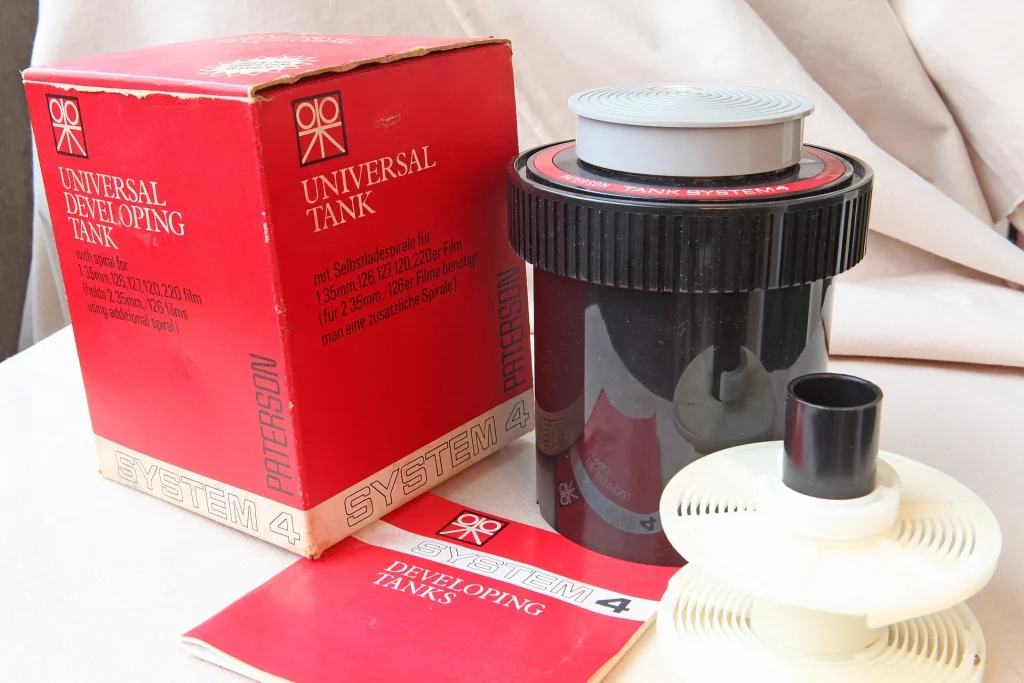
- Paterson Super System 4 — the standard plastic tank, with adjustable reels that are easy to load. The Universal size takes two rolls of 35mm or one of 120.
- Jobo 1500 series — precise German tanks that use less chemistry and can go on a rotary processor.
- Stainless steel tanks with Hewes reels — durable, quick to fill and quick to dry, though loading takes practice.
- AP and Arista tanks — Paterson-compatible designs whose wide-flanged reels make 120 film easier to load.
Our Pick: A Complete Paterson Universal Tank with Two Reels
The Paterson is what most people learn on, and for good reason. The reels load by a simple back-and-forth twist, spare parts are sold everywhere, and one tank handles both 35mm and medium format.
THE VERDICT
- Tank: Complete, no cracks
- Reels: Two, ratchets working
- Lid: Seals without leaking
- Formats: 35mm and 120
Best for: film shooters who want to cut lab costs and develop black-and-white film at the kitchen sink.
Pros & Cons
Pros
- Everything after loading happens in normal room light
- Inexpensive, and a tank lasts for decades
- One tank covers both 35mm and 120 film
Cons
- Plastic reels must be completely dry before you load film
- Loading in total darkness takes a few practice runs
Common Problems to Watch For
- Missing center column — without it the tank is not light-tight and film will be fogged. Check that it is included.
- Cracked body or funnel — causes leaks and can let light in.
- Stuck reel bearings — dried chemical residue stops the ratchet gripping the film. Soak and scrub the reels.
- Leaking lid — a worn or missing seal lets chemistry escape during agitation.
- Bent stainless reels — film touches itself and develops unevenly. A bent reel is not worth saving.
How Much Should You Expect to Pay
- $10–$20: Single used plastic tanks
- $20–$40: Complete Paterson tanks with two reels
- $40–$80: Jobo tanks, and stainless tanks with Hewes reels
- $100+: Full kits with changing bag, thermometer and measuring jugs
Looking After Tanks and Reels
- Rinse every part thoroughly in warm water after each session
- Let reels dry fully before the next use, or film will stick as you load it
- Scrub reels with an old toothbrush now and then to remove residue
Quick Questions, Answered
Do I need a darkroom?
No. You only need darkness to load the film into the tank, and a changing bag does that on a tabletop.
What else do I need?
Developer, fixer, a thermometer, measuring jugs, a changing bag and clips to hang the film. A stop bath and wetting agent are useful extras.
Can I develop color film at home?
Yes, with a C-41 kit. The steps are similar, but the temperature must be held at about 100 degrees Fahrenheit.
Practice loading a reel in daylight with a ruined roll of film, then with your eyes closed, before you try it with a roll you care about. Ten minutes of practice prevents most first-time disasters.